
So, you’ve got this Artex stuff on your ceilings or walls, you are not alone. There was a long interval when Artex was the embodiment of class and glory in many areas, but now, this is an outdated methodology. In this guide, we’ll reveal everything on how to transfigure those textured areas into something sleek and modern, all without the difficulty of plastering.
Readying Your Artex Surface
Before any remodeling, you must have got your surface ready. Think of it like readying a ring before boxing. The more time spent on it ensuring that the surface in question has been properly prepared, the better the output can be. Although Artex is a very mild substance, it can be subjected to an issue when applied to areas that are uneven, oily, or that type of surfaces which are leftover of previous projects.
Readying The Room
Remove furniture from the room, cover the floor properly, and protect the surfaces where you don’t want to get paint on. Use tape used by painters to mask off edges and trim.
Thoroughly Clean Surface
Give your Artex surface a thorough cleaning. Dust, dirt, and grease can completely foul up your new finish. Grab some warm water and rinse it off, scrub it down, mild detergent, and let it dry.
Sand Until It’s Smooth
Inspect the wall or ceiling for any holes, cracks, or damaged surfaces. Fill these spots with a suitable tool or patching mixture. Smooth out the spots and let them dry completly.
Coat With Primer
Apply the primer’s first coating specifically designed for textured areas. Proper use of specified tools can ensure the coverage of Artex. Make sure that the primer is fully dried as per the manufacturer’s instructions.
Selecting Cover-up Material
Now comes the amazing part – select the new look for your walls or ceiling. There are a few choices to consider:
Lining Paper or Wall Liner
Wall liner or lining paper is like a timeserver for your walls. It comes in various textures and thicknesses, so you can get more creative.
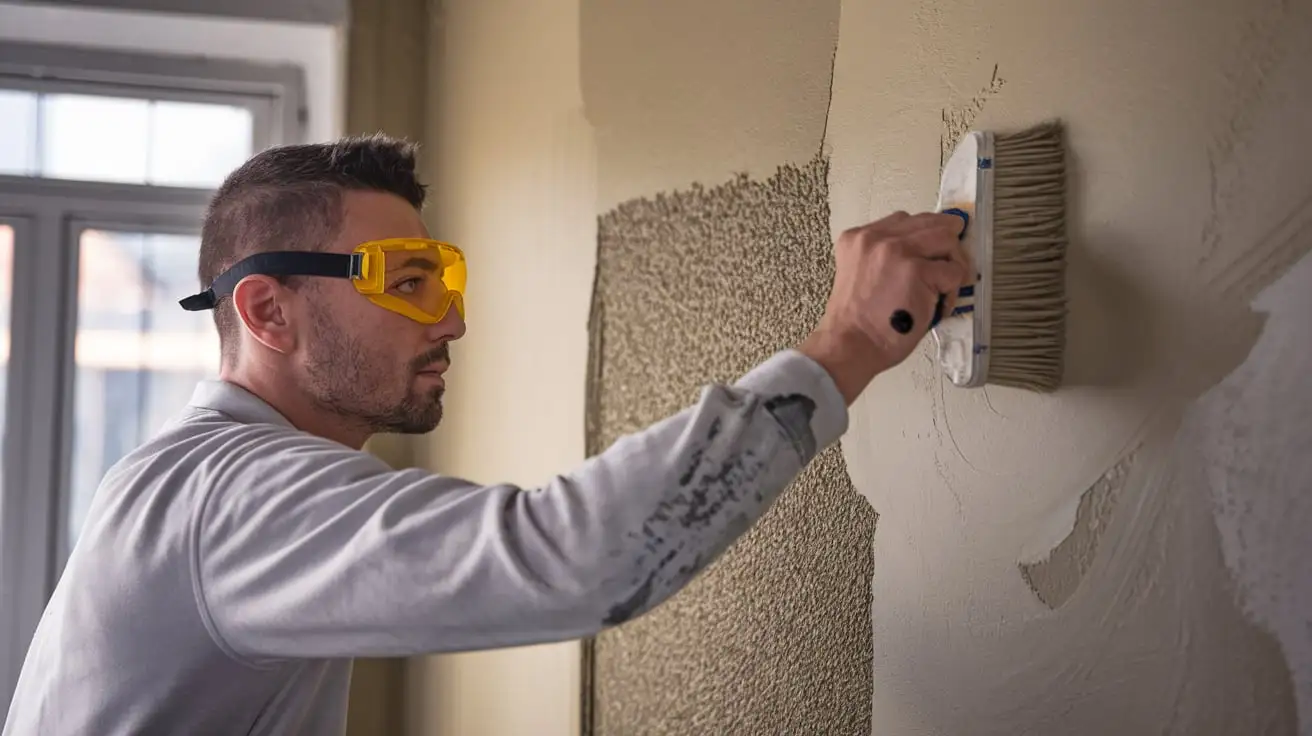
Skim Coating
Skim coating is identical to providing your Artex a spa day. Spreading a thin layer of joint mixture or plaster to get that smooth finish.
Textured Wallpaper
Applying textured wallpaper over the Artex wall or ceiling can valuably hide the texture. There are various patterns and designs accessible to suit different tastes.
Polystyrene ceiling
These polystyrene tiles can be glued directly onto the Artex. They come in different patterns and styles, offering reasonable options for covering the texture.
Using Cover-up Material
Now comes the most important part which is to use the selected cover-up material. Heres how to use it properly:
Lining Paper or Wall Liner
- Measure your area and cut the liner to fit, leaving an extra space for trimming.
- Slap some adhesive properly, just like the instructions say.
- Smooth it onto your Artex, validating that there’s no wrinkles or bubbles .
- Trim the excess part, and once the glue’s completely dried, you can wallpaper it however you like.
Skim Coating
- Mix plaster according to the instructions given in the manual.
- Spread a thin and even layer over your Artex wall or ceiling with a broad knife.
- When the first layer is dried, then give it a bit of sanding to get rid of any imperfections.
- Apply a second layer of coat, a bit thicker this time, and repeat the dry-sand-dry-sand step until you’ve got a smooth surface area.
- Once it’s all dry, you can wallpaper it.
Textured Wallpaper
- Find the textured wallpapers that suits your taste.
- Slap it on your Artex with a roller or any other tool.
- Let the first coat dry, and if you need some extra, add until it just looks right.
- Once it’s all dry, you can even change it with regular paint in your favorite color.