No idea whether to throw away or restore wooden furniture that got water on it? If you know how to repair the wood surface that was ruined by water will help you save fortune and reduce the need to replace it. Water can damage and leave the wood to be shrunken, swollen or even warped in normal to extreme cases depending on the level of minor or major damage.
Here are some tips, tricks and points we assembled to restore your wooden surface damaged with water.
Understanding the Damage
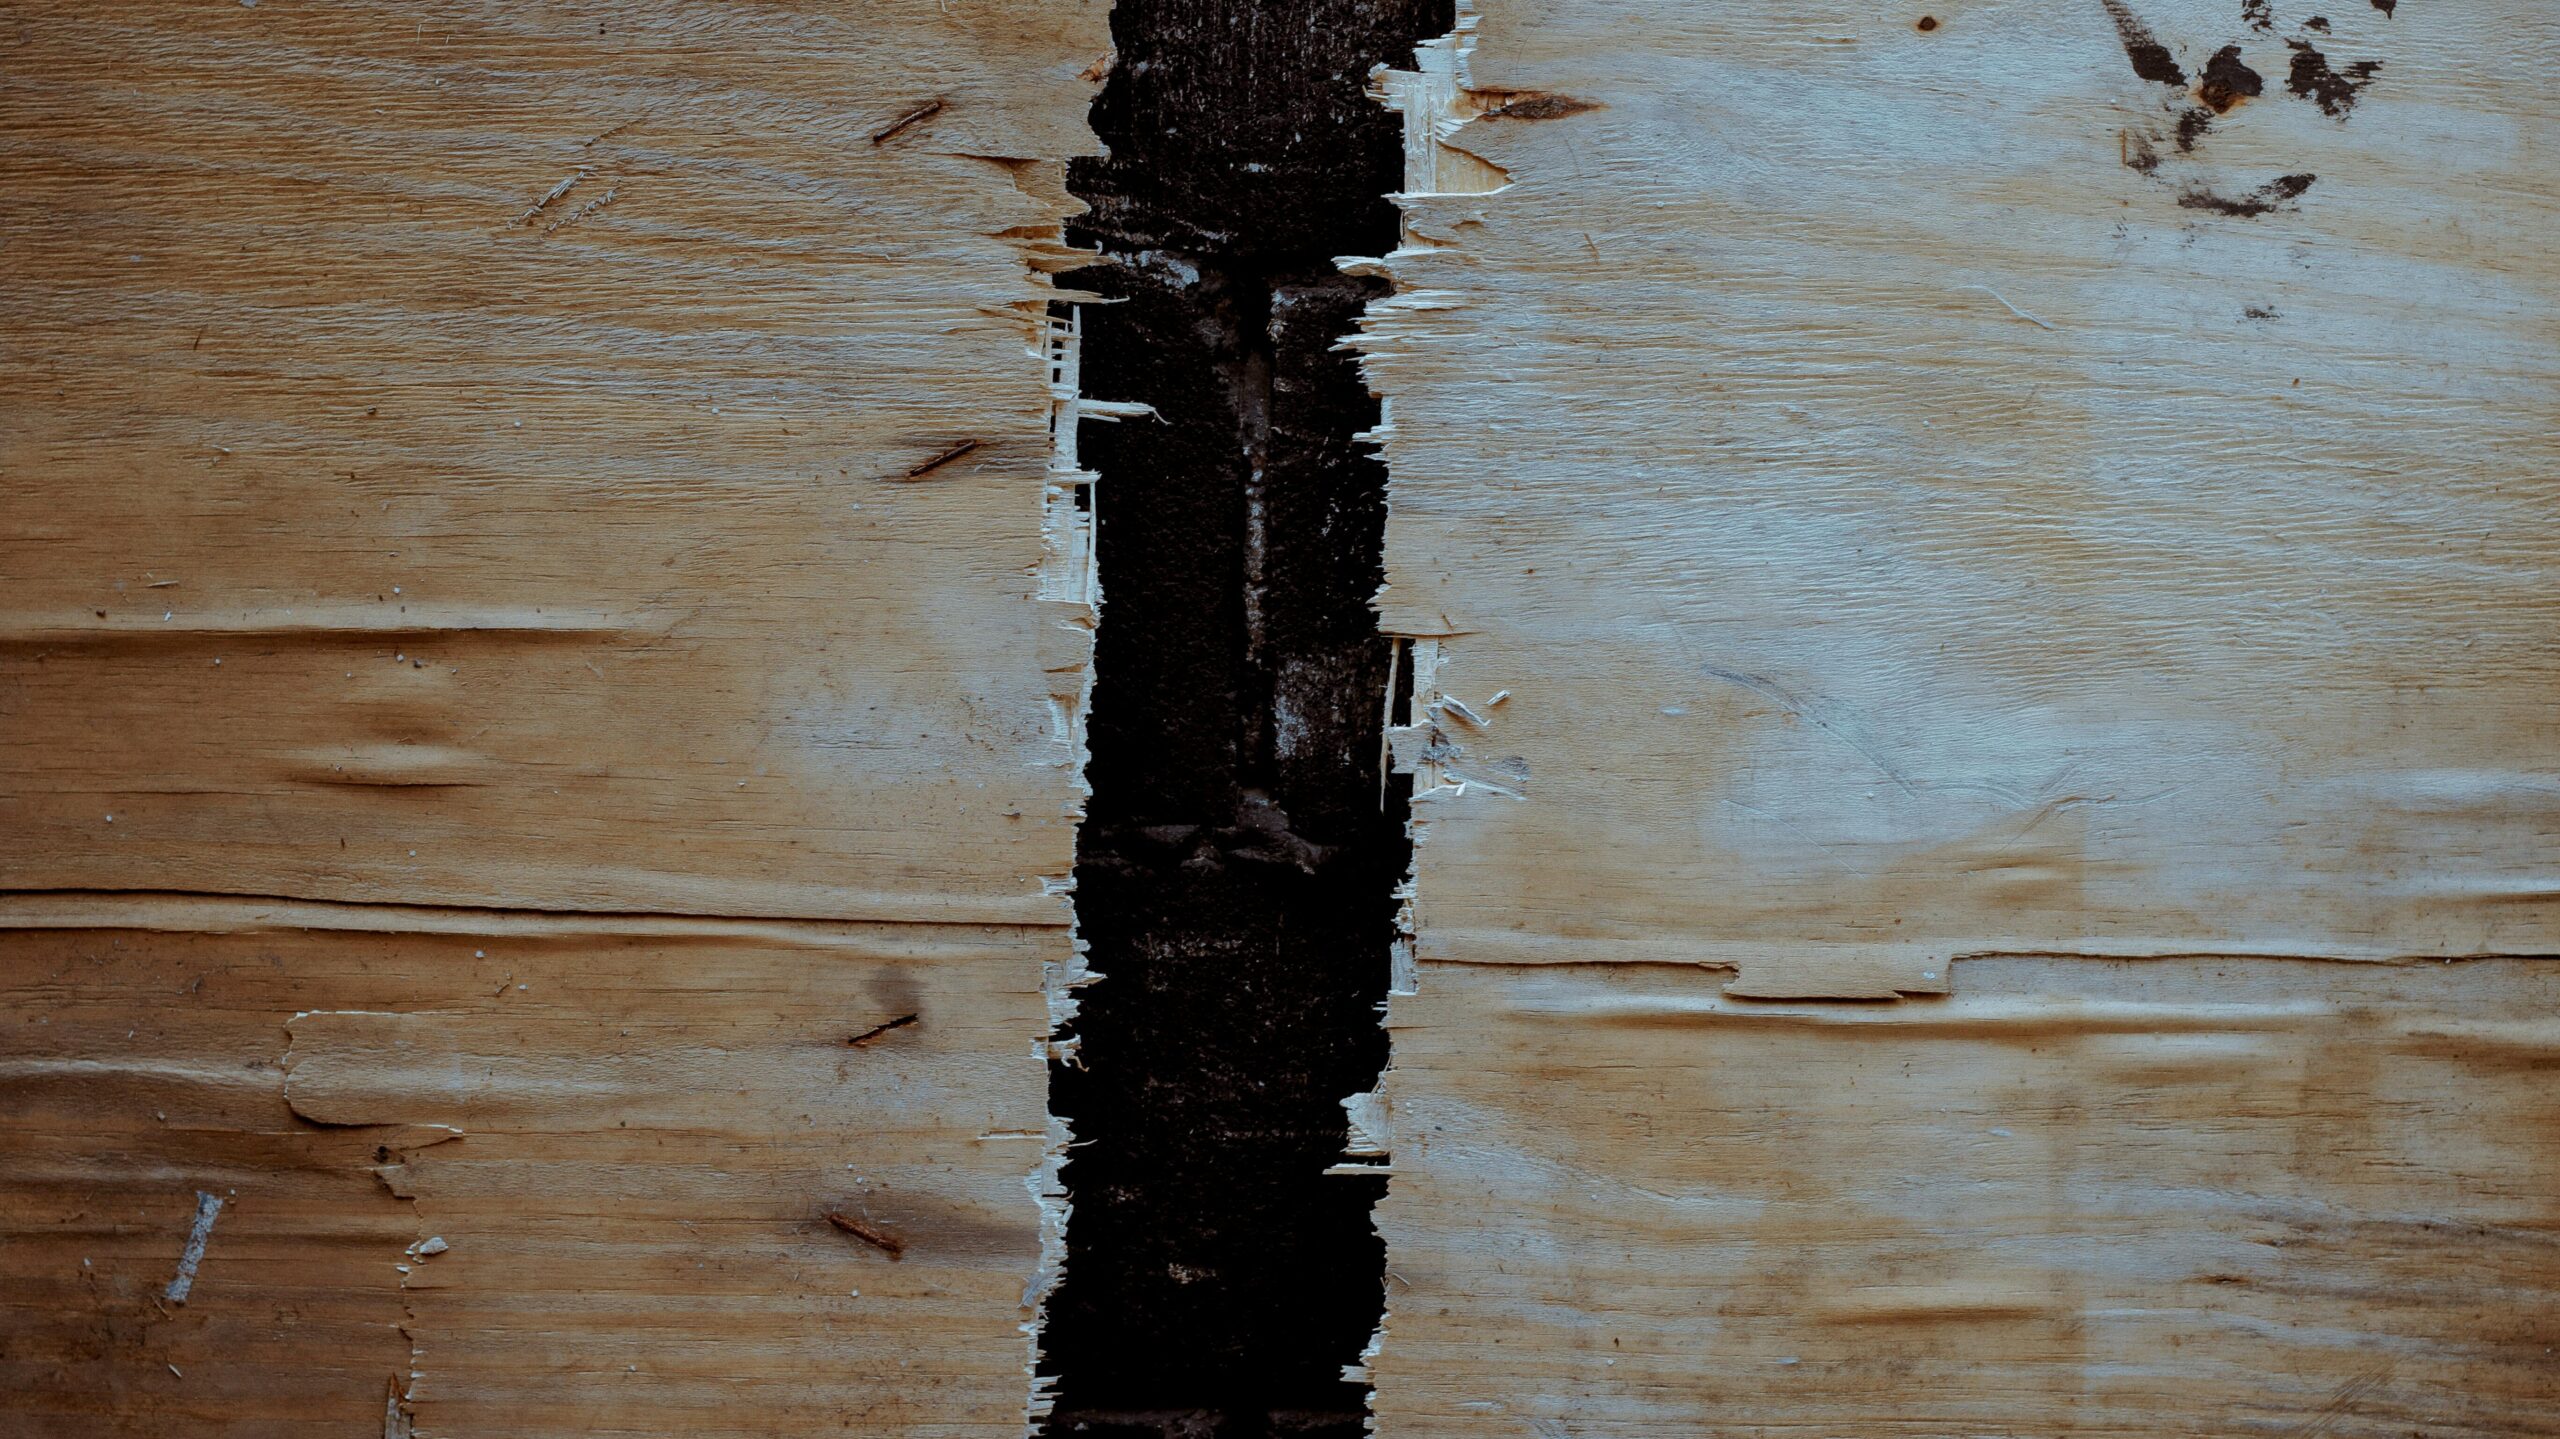
Before we dive into the tips to restore, it’s essential to understand how water influences any surface made out of wood. When wood soaks up any amount of moisture, it is swollen. If the water is not removed on time, the wood can warp, twist, or expand. The extent of the damage depends on many factors like the type of wood, the time of exposure to moisture, and the humidity levels in the area of the wooden surface.

Safety First
Before you start the restoring process of wood, make sure that the area is safe and hygienic. If the wood was exposed to water for a longer time period, there might be fungal growth or structural issues. If you notice any signs of mold, it’s advised to consult professionals for restoring and repairing purposes. Also, one is advised to wear protective gear, like gloves and mask, especially when exposed to any type of chemicals.
What Factors Contribute to the Bubbling of Wooden Surfaces?
Bubbled up wood can distract from the overall look of your furniture, making it look old, used and rough. But if you undersatnd why your wood is swollen, it may help you prolong the life of your furniture and save money in the long run. Wood is automatically supposed to absorb moisture until and unless you seal it with a waterproof sealant. The humidity in the atmosphere gets into the wood and causes it to get deshaped, swollen, or expanded to some extent with bubbles forming on the top surface. But don’t worry , it is feasible to get rid of those bubbles.
It is already very obvious, but the best and only way to avoid a bubbled up wooden surface is to avoid getting water on it. But unfortunately it happens too often with or without us wanting to do so, especially when it comes to surfaces that are regularly used like a dinner table which is used for putting food and drinks on at all times. The use of excessive liquid can be dangerous for the table top.
Methods for Repairing Water-Damaged and Swollen Wooden Furniture
Dry the water
It is going to sound funny and so unserious but yes, the first technique is to clean the water. No kidding. You need to act faster and not slack before the water is completely absorbed by the surface of the wood and only then will you be able to get a step closer to saving your furniture of wood. However, even if it’s too late, do not worry , there’s still some hope for restoration to be made. You can also remove moisture by putting your furniture ruined with water to sit under direct sunlight for a minimum of 24 hours so that any excess water can get dried up fastly and let your furniture possibly come back to its original shape and form. Any means of artificial drying like a hair dryer will lead to potentially causing way more damage to the wood you are actually trying to save in the first place. You should let your furniture dry slowly and completely. If it dries too fastly or you use any unnatural means or substance to dry it quickly, the wood can result in warping, splitting, breaking, or swelling. Let it take its time in drying as naturally and completely as possible to achieve a better result than drying it unnaturally.
Increase air flow
Use fans or dehumidifiers to let the air flow around the wood that is now damp. This will help decrease the moisture out of the furniture. Open windows if the weather is not too humid and the outer air is dry. Letting the furniture of wood dry by natural air or sun is always the best option and should be used instead of exposing the surface to any chemicals at the initial stage of damage.
Measure level of humidity
Use a moisture meter called a hygrometer to keep track of humidity levels in the room you are in and the atmosphere. The ideal levels of recommended levels of humidity inside any closed off area should be between 30-50%. You need lesser and balanced humidity around the surface you are trying to repair and restore.
Remove the finish from the wood
If there is any residual paint or the surface is painted, make sure to first use a paint and varnish stripper to strip any paint off the wood. The easiest method to tackle tough stains without sanding down the wood is by using a stripper. Simply take a clean paintbrush, apply the stripper to the stained spots, and allow the chemical to work its magic and keep an eye on bubbling as it oxidizes. Employ a scraping tool, such as a putty knife, to carefully remove the stripper and softened finish from the furniture. Once the furniture is fully stripped, take 100- to 150-grit sandpaper to smooth out the area and eliminate any leftover finish. Finally, use a clean paintbrush to sweep away any dust on the surface of the wood.
Sand the wooden surface
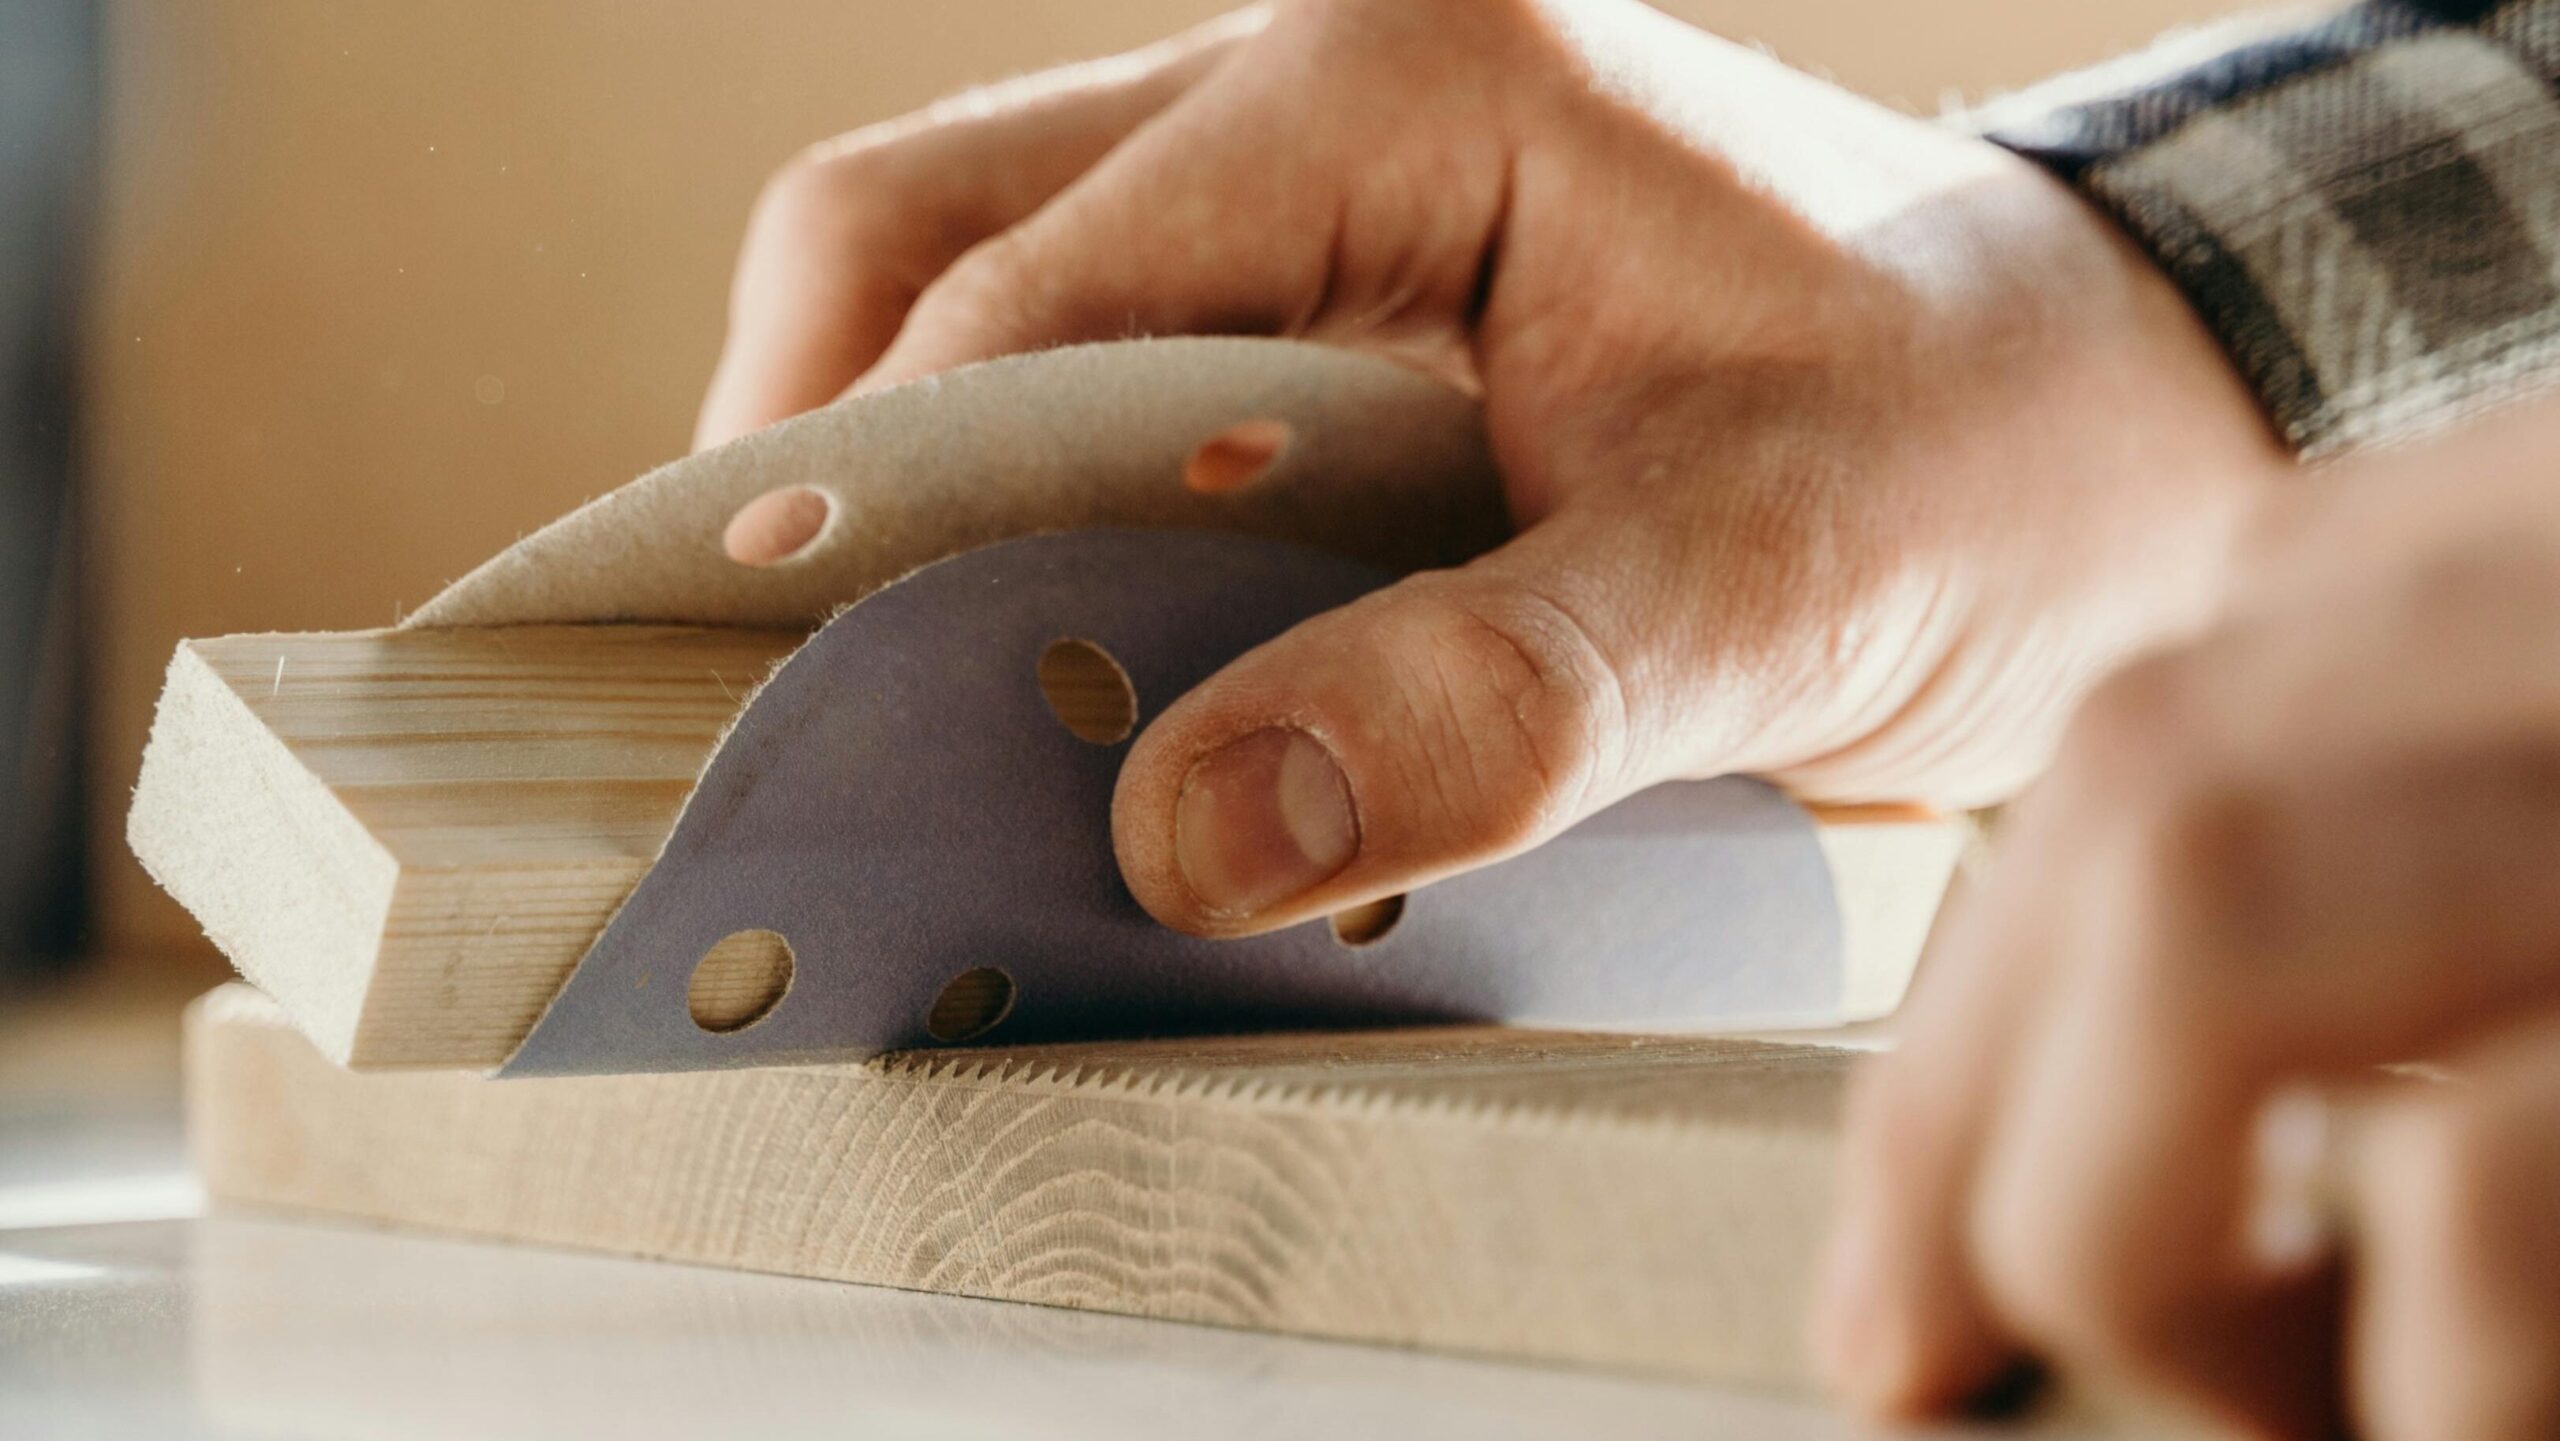
Use sandpaper with a tool for hand sanding or use your hand strength to sand the desired area or the full furniture. This will make the surface even out and get rid of any roughness on the wood. Before sanding, be sure to wipe off any residual paint or dirt on the wood.
A belt sander will do the quickest and best sanding, especially if the top of the furniture is big, meanwhile a hand held finishing sander or sandpaper is ideal for getting a smoother surface on the furniture. For a spotless result, you may want to use these tools to repair your ruined wood furniture with moisture problems to an almost new and stable condition.

Apply furniture oil on the wood
After you’re done sanding, brush off the dust that will have gathered and ensure the wooden surface is effortless and not rough on the top
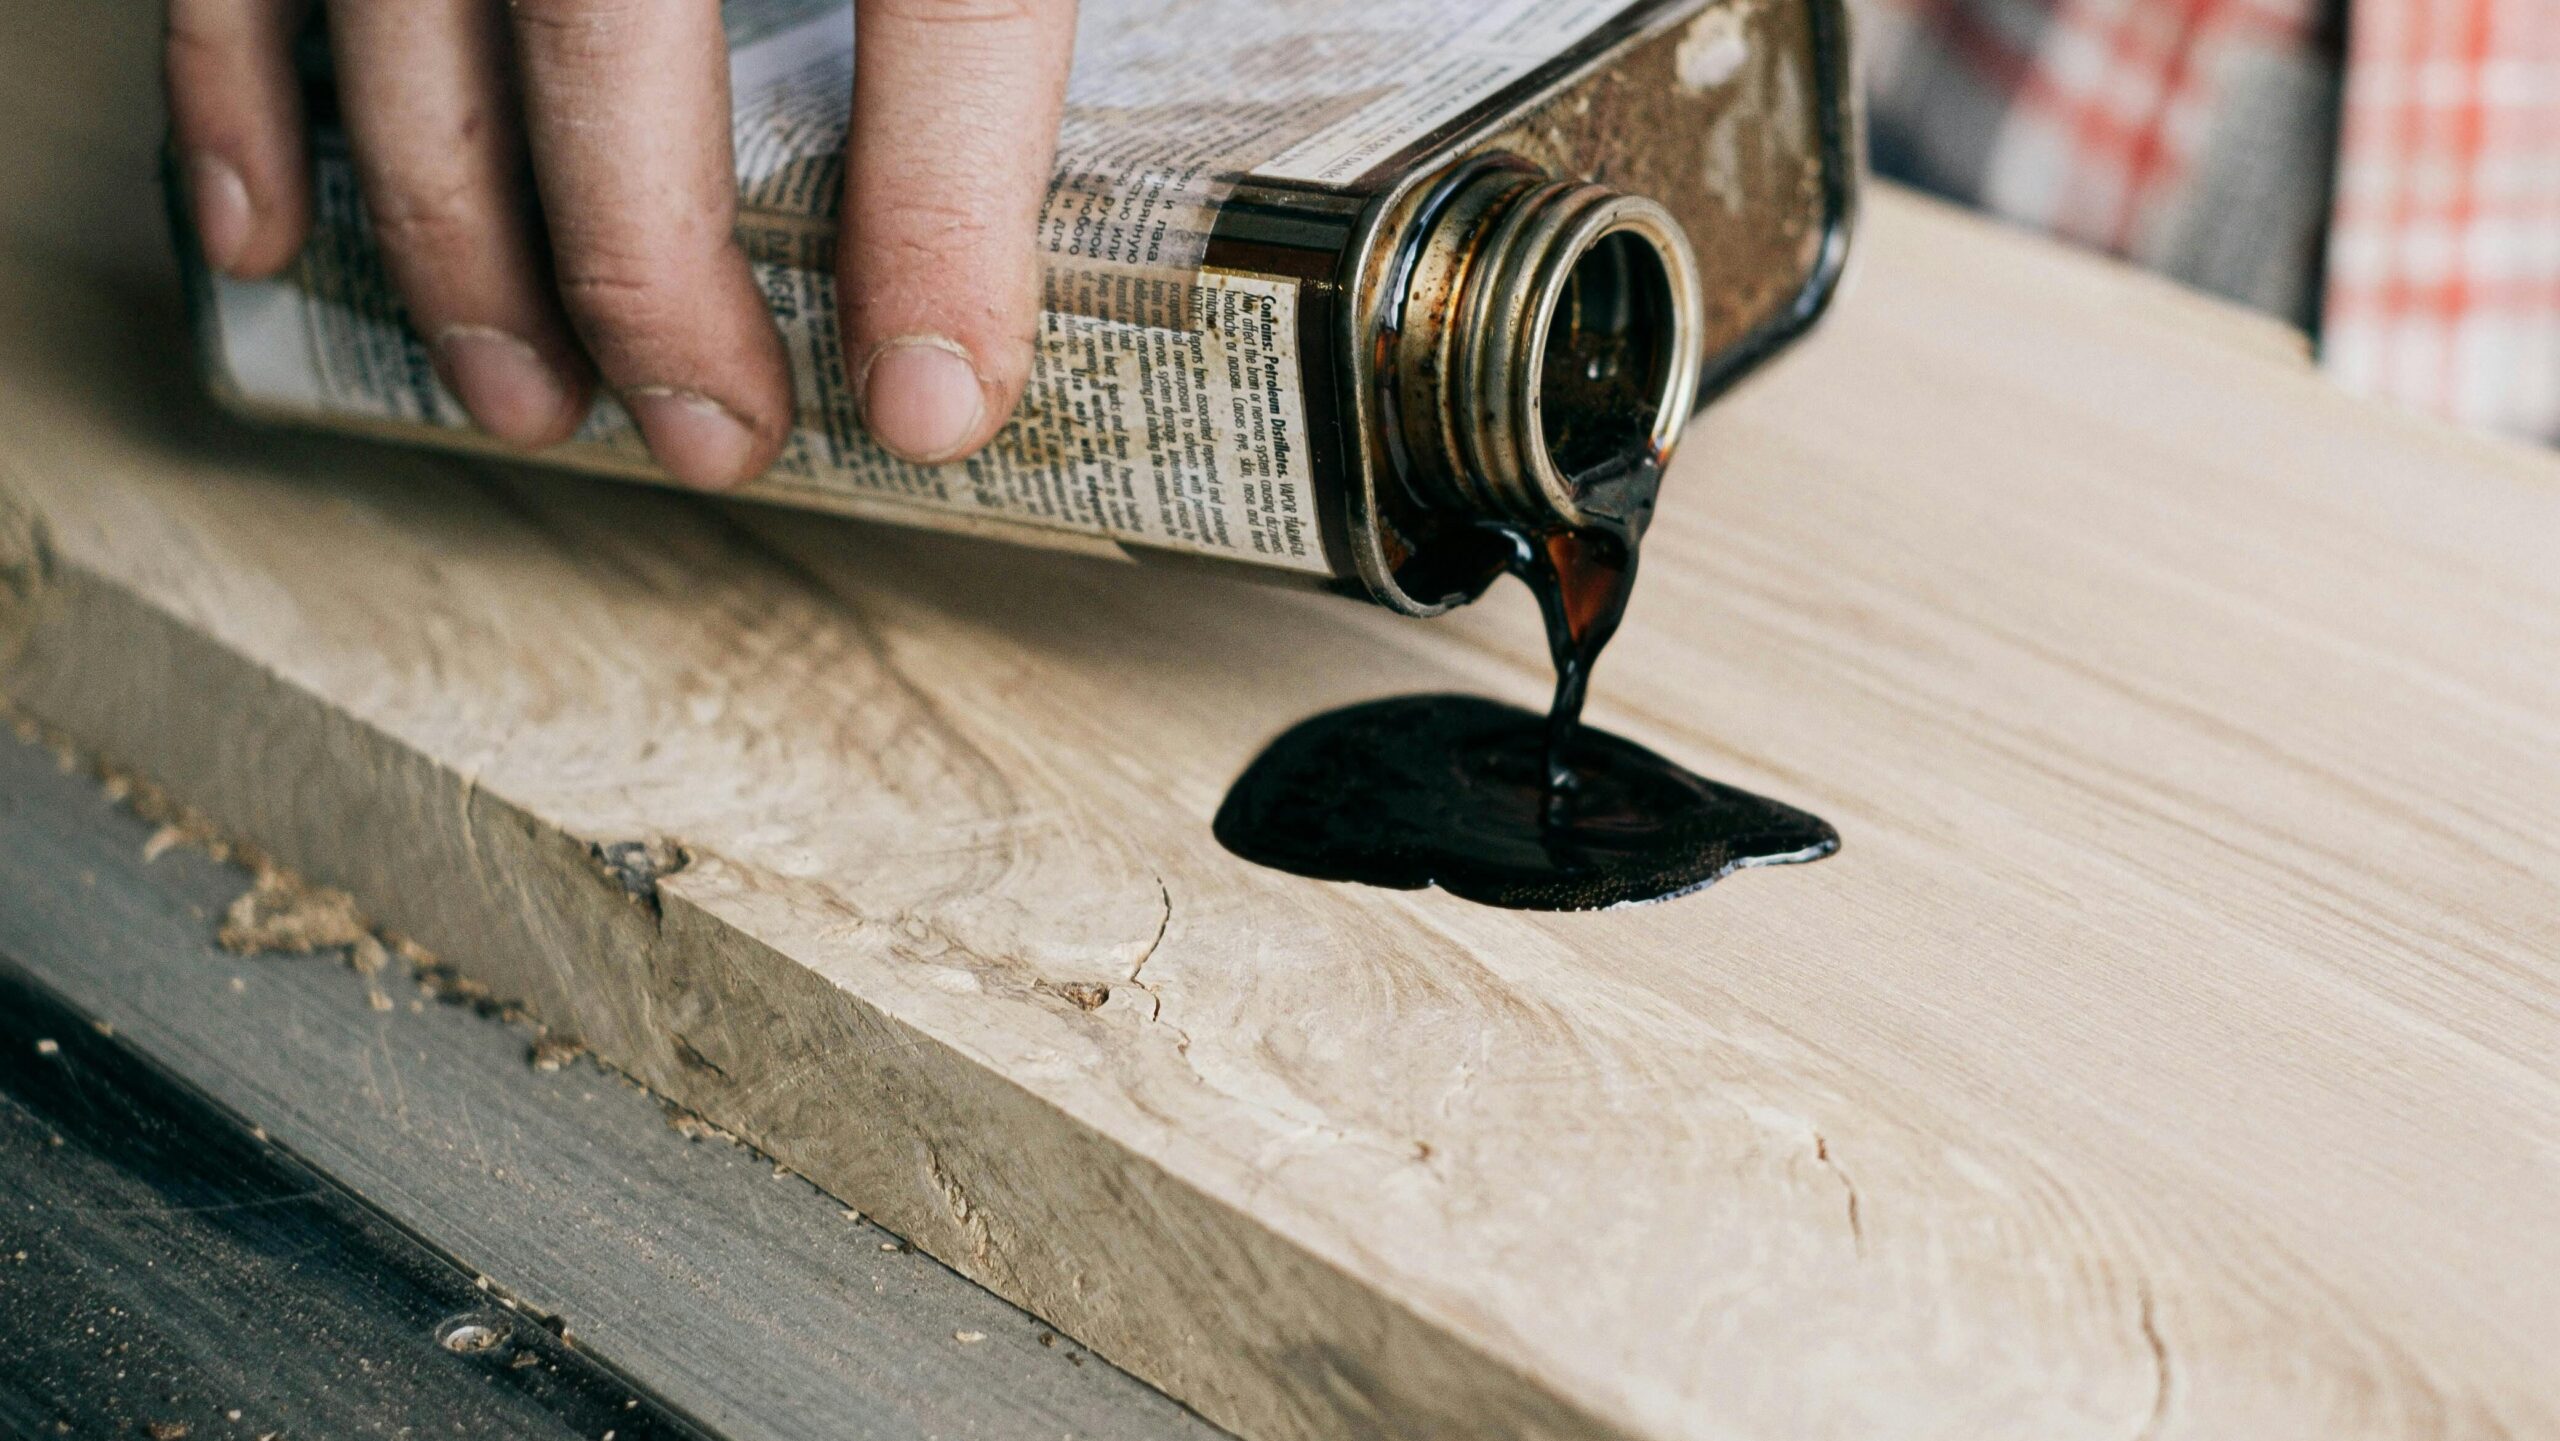
Then, apply the oil especially made for furniture to the wooden surface and rub it in. Clean the remnants of oil if there was an excess. It is ideal that you should wipe the surface clean and no oil residue should be there on the surface after you have rubbed it on the surface. Ensure to use a fine-quality furniture oil to give your furniture a long lasting life and better appearance.

Secure loose joints with adhesive
Gently eliminate any residual adhesive by properly sanding the joints with rolled 150-grit sandpaper. Clear away the dust and remnants of glue. Apply glue used for wood into the joint and fix it, securing with clamps for approximately 24 hours. For challenging areas, such as dresser corners or delicate decorative elements that require precise reattachment, opt for epoxy wood glue.
Paint the surface
To make the wood you just repaired, long lasting, apply paint on the surface. It will also enhance its appearance.
Use a brush to apply a water resistant paint to the wood while ensuring it matches the wooden furniture in your house, apply it in big, fine strokes with the help of your brush to spread it finely. Always apply 2 to 3 coats of paint so that it lasts even longer. You can also buff the surface once you deem it done.
Seek professional help for restoring
If the problem is simple and easy to handle , you can always do it yourself or manage a friend to do it with. But only if it lies within your area of expertise or you have seen someone do it before. But if a time comes when you unfortunately face a rather difficult and challenging situation, do not hesitate to call for help and seek professional help as soon as you can because if the wood is left unattended for a longer period of time, it may result in mold as we already discussed the possibility. So a professional might be able to help you restore the already ruined surfaces of furniture. There are certain water damage control companies offering their services to revamp the old , aged and ruined surfaces of wood.
Final thoughts
It is to be kept under consideration that any surface, if ruined, is not easy to repair or restore. It is always a hard decision but one has to step up and decide which pieces of furniture need revamping and which need to be replaced.
